Storage Ideas / Tips
Creating A Tool Workspace 101
Whether you are a talented woodworking craftsman, or a homeowner with lots of tools you can have the perfect slatwall workspace by following these easy steps!
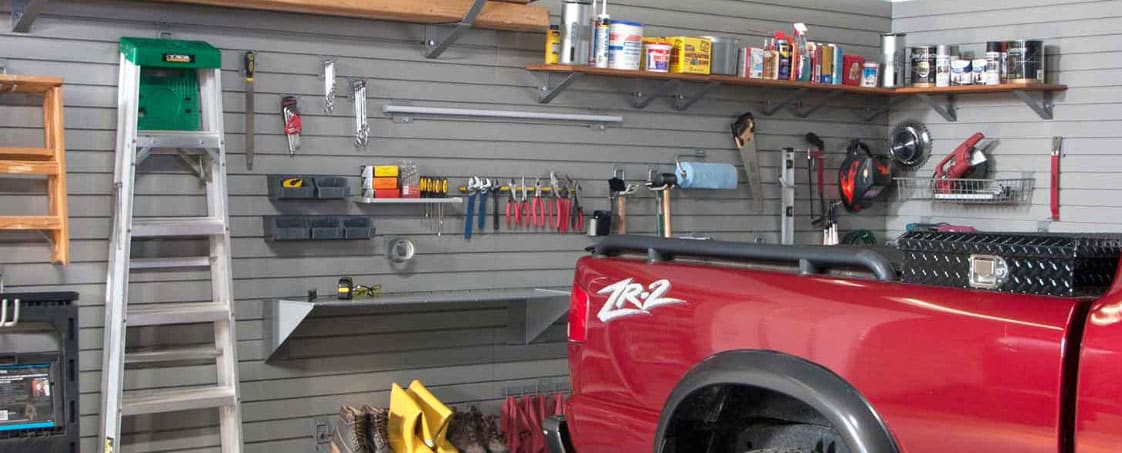
Separate tools into zones
When starting any organizational project, the beginning steps are the same. Go through all your items and organize them into like categories. Examples, power tools in one category and screw drivers in another. Here is a list of common tool categories to help you:
- Wrenches
- Pliers
- Cutters
- Striking tools
- Struck or hammered tools
- Screwdrivers
- Clamps
- Snips
- Saws
- Drills
- Knives
- Power tools
- Nails, screws, nuts and bolts
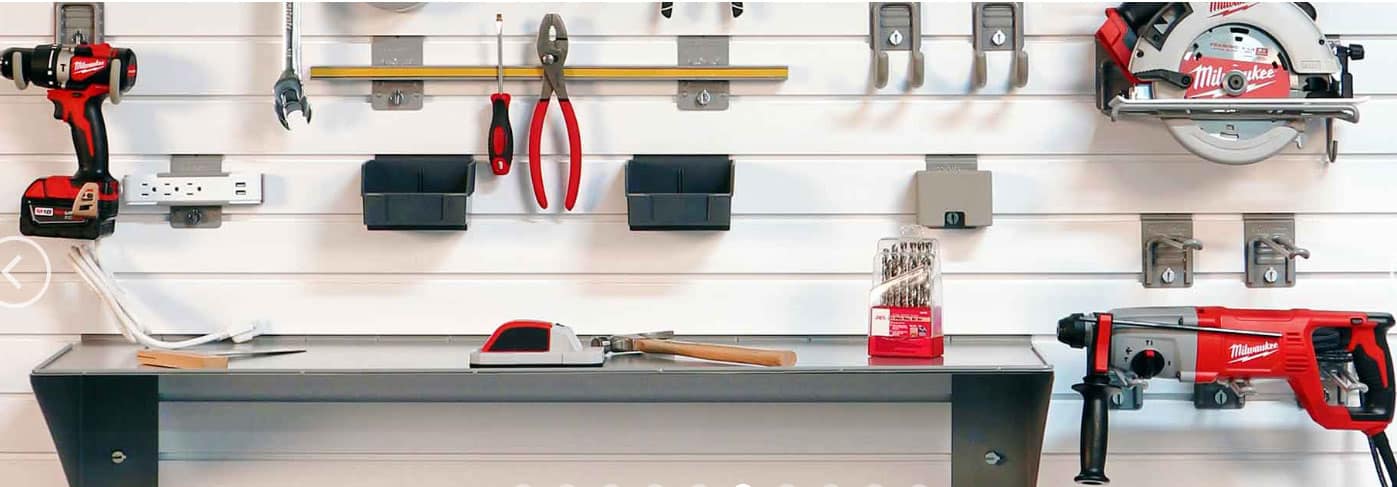
Make sure all items can be seen easily
Now it’s time to plan how you will store your tools in like groups. You will need to plan what accessories are best for each category. Slatwall accessories are best as you will be able to pair many items on the same accessory!

Create a workspace
In your planning stage it is vital to include a workspace/ counter space. If you don’t already have a workbench or have one and need more space, it possible to have one on your slatwall! Without a workspace you will be working on the floor or having to create one for each project. No one wants to do that. Get a few metal shelves to attach to your slatwall. They are deep enough to get small projects done, and strong enough to take some pounding.
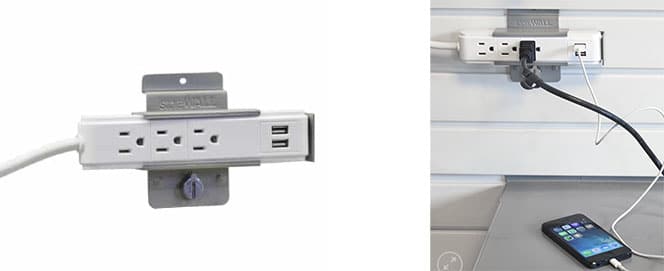
Have a charging station
Today’s workroom is different from those of our grandparents. We have power tools! These need to be charged and need the space to do just that. A charging station should have enough outlets for all your charging needs and a USB port so you can have your tablet nearby if needed.
Now…get to work!
You have spent the time planning and getting your space exactly as you need it, now it’s time to be creative and get to work. Get back to enjoying the project instead of spending time looking for the tools you need.